Thursday, 17 January 2013

Work bench update

Hi there,

Apologies for the lack of updates recently. My wife and I welcomed our first daughter into the world and hobbying took a bit of a back seat for a while. Things have now settled down again and work on my Blood Angels has resumed.

Below are the Land Raider Redeemer/Crusader wip's, the Storm Raven and the 30 odd tactical and assault marines that have been repainted with the airbrush to match the tank colour scheme.

The Land Raider interior has been primed with Vallejo Polyurethane Grey Primer and then covered in VAC Sand with VAC Sandy Brown in the recesses. The surfaces where then chip effected with VAC Gun on an old bit of sponge before sealing with a gloss varnish and washing the recesses. The whole thing was then sealed in Matt varnish and Pigments applied dry onto the floor and assault ramp and around the base of the sides to create a unified effect of a vehicle that has seen action with constant movement in and out. The engine plate was masked off and airbrushed with VAC Steel, gloss varnished then given several glasses of a dark blacky brown wash and a sepia wash in varying number of layers to build up the effect. It was then Matt varnished and hit with black pigments to give the effect of soot build up on a machine that is active in the field.


It has now been assembled and is ready for the outer to be primed....pics of that to follow.

Now we have the Storm Raven that just needs its turrets finishing and the Blood Strike missiles finishing then it can be gloss varnished and oil pin washed before pigments are applied. I have picked up the AK interactive range of enamel effects after seeing them used to great effect on Marneus Calgar's YouTube Channel http://www.youtube.com/user/MarneusAugustaCalgar. Looking forward to using them.

In the background you can see all the troops ready for their final Satin Varnish coat and weapons attached.


Wednesday, 24 October 2012

Dreadnought base complete

The Dreadnought base has been finished. Very happy with the way it has turned out. Was exactly the effect I  was going for. Now I just need to finish off a few missed details on the Dread itself (some lenses need finishing and the under slung weapons attaching) and it will be done and ready to crush foo's.


Wednesday, 10 October 2012

Furioso Dreadnaught base WiP

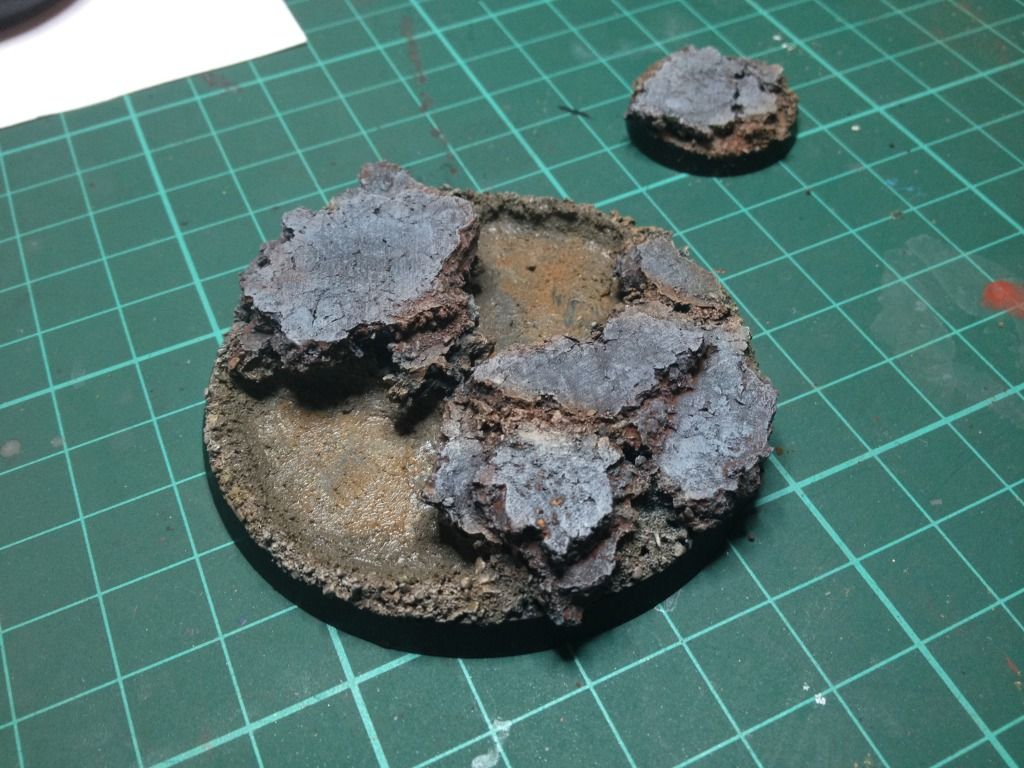
Finished most of the work required on the base last night in preparation to create the dirty water pools I am after. I have made sure that the depressions the mix will be poured into are water tight by filling around the edges with modelling putty and then once it has completely set putting a thin layer of PVA over the top of that and letting that dry. After that I have used Vallejo Sandy Paste, Brown Earth Paste and Dark Earth Paste to create a muddied effect at the bottom of the pool.

It currently looks like this


I now have two options to use for the dirty water effect.

The first is a two part crystal resin kit that I used to create the water effect in this mini base


That wasn't my most successful pour by the way :) I managed to tidy that up quite a bit....in fact I will post a pic of that mini (Malifaux December Cult Ice Golem) when I remember. Now personally that is too clear for the effect that I am after. I want something that looks more like a muddy puddle with an effect along these lines. (Image from http://www.ediorama.com)


Looks like it was created using this stuff.


Some experimentation might be needed before I try this on the base for real.


Friday, 5 October 2012

Furioso Dreadnaught WiP

Back before there was a Furioso model released that wasn't all metal and terrible I ran an ironclad as a Furioso. To be honest it works very well as one. Anyway it has had a repaint to fit in with the rest of the army. Pretty much done. It just needs a coat of Satin varnish now to bring down the gloss finish it was given before being oil washed. Then there will be some pigments applied around the engine exhausts and the feet to blend it in with the base. The base has had the two raised sections cut out and a circle of plasticard glued in underneath and then the gaps filled with revell model putty. I have then put in some debris for the dreadnaught to stand on and the two recessed areas will be filled to look like dirty water.


Tuesday, 2 October 2012

Blood Angels JP Chaplain

One Blood Angels Chaplain done....well ish. The metalics need neatening up a little bit but otherwise he is ready to cleave skulls!


On a related note I am very near done with my Blood Angels now. I have one or two pieces to finish off but that will be a LOT of hardwork and painting time done.....then they can go on eBay and pay for something shiny and new :)

Wednesday, 12 September 2012

Mephiston 99% done

OK that is Mephiston pretty much done. He needs a bit of OSL around the plasma pistol and that is job done. Very happy with the way he has turned out.


Wednesday, 5 September 2012

Mephiston WiP - getting there!

Bit of a major push on Mephiston last night. Almost all of the main colour detail has been done, then gloss varnished and some oil washes and shading applied. Not happy with the detail on the face so that will be touched up as well as the blue shading on the winged areas needs neatening up. Should be done in the next couple of days.

Excuse the shinyness of the pics, the gloss varnish used to protect the acrylic layers from the oil wash does not make a good photographic subject. Ultimately once it is finished it will get a coat of satin varnish to bring everything back down.