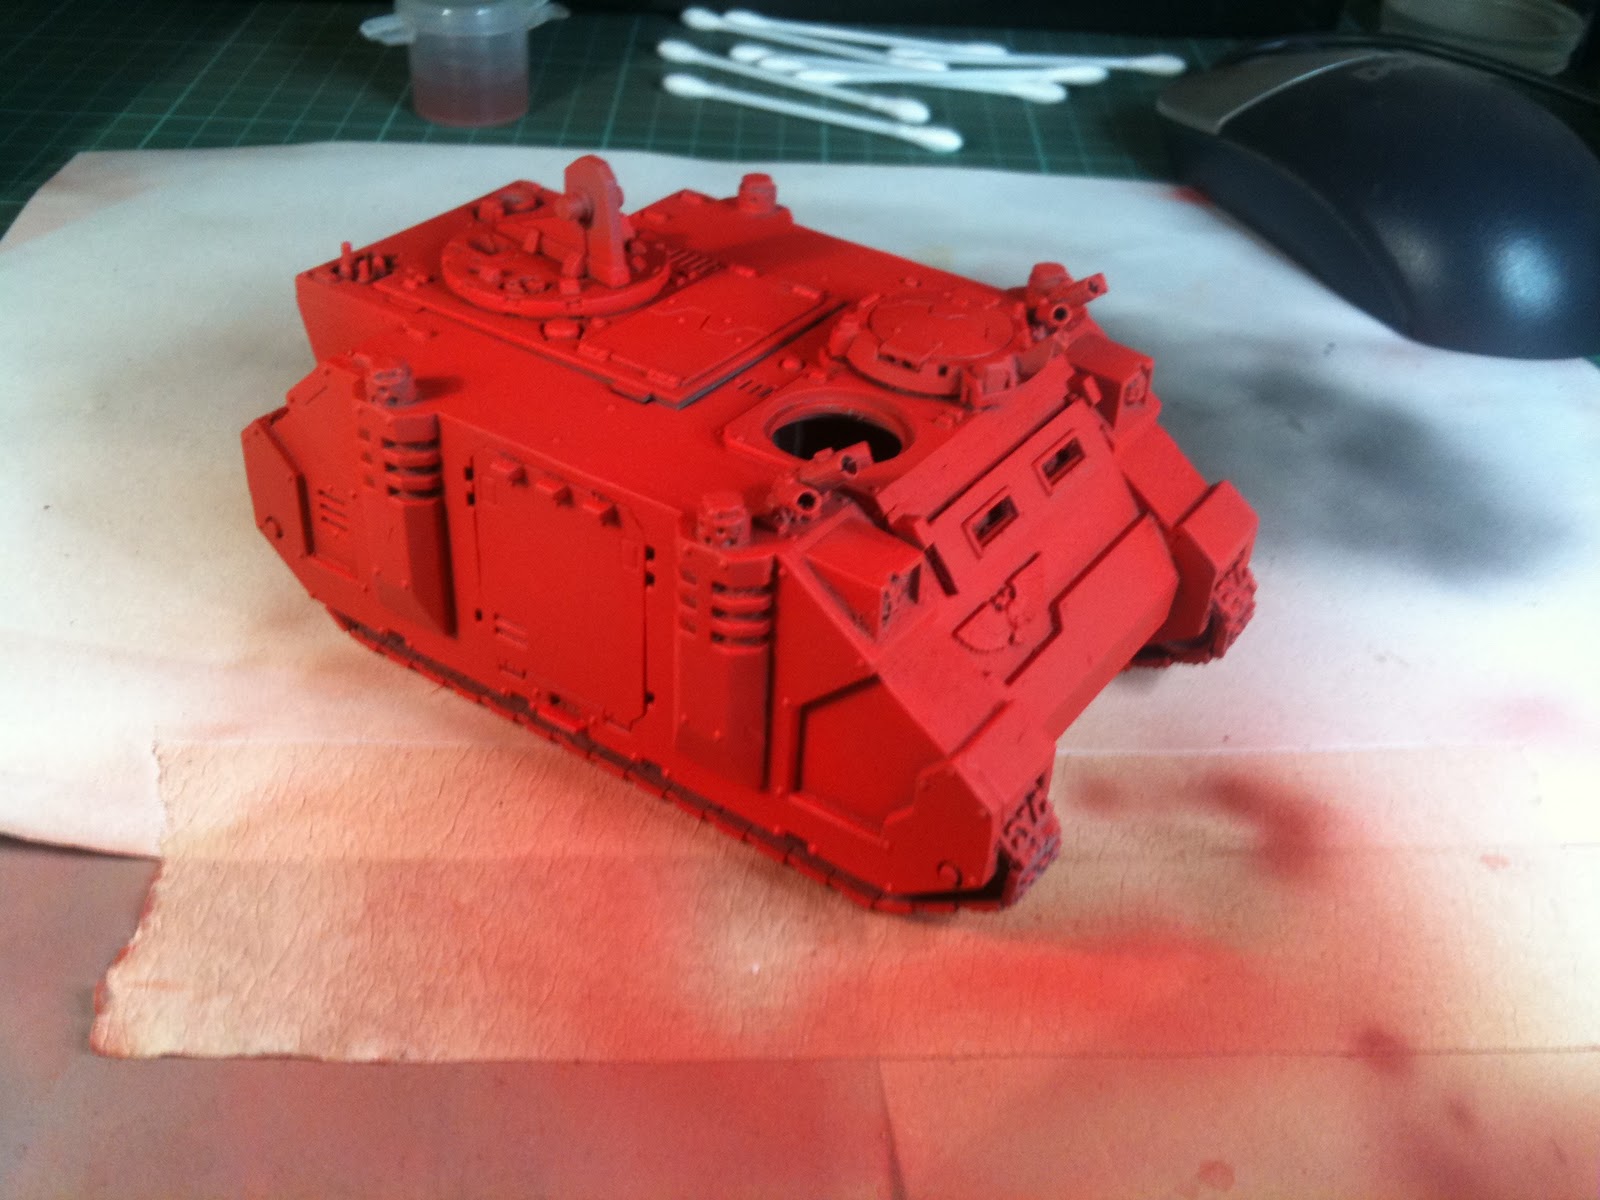
The main colour and panel highlighting has gone down as well as some green area effect at the front which has also been panel filled. I've done this as I think an all bone coloured Land Raider risks looking a little bit flat. I have taken a couple of bits of Dark Angel iconography from the Ravenwing box set upgrade sprues and am painting that up separately to go on some of the doors. Then the deathwing decals will go on from the Space Marine Vehicle decal set. Then the whole thing sealed with satin varnish and then weathered in the panel lines and around the rivets etc with a sepia-ish wash. Then some light weathering and she will be done. I fear too much weathering on it will look too brown given the model colour so I will probably go quite lightly on it.
Formerly easyridersofhann.blogspot.com and once upon a time a tale of three gamers blog, now my painting blog and general 40k musings
Showing posts with label AirBrush. Show all posts
Thursday, 20 October 2011
Deathwing LandRaiders
A mate of mine has commissioned me to do a couple of Deathwing Land Raiders. Here are some WiP pics taken with my shiny new iPhone 4S (camera is definitely improved but the flash ain't great as you can see.)
Thursday, 13 October 2011
Airbrushed Blood Angels Vindicator - Done + few updates
Bit of a large update today.
In between prepping a couple of Land Raiders and Dreadnoughts for a commission I have managed to finish of a couple of Blood Angel vehicles that were sat on my bench.
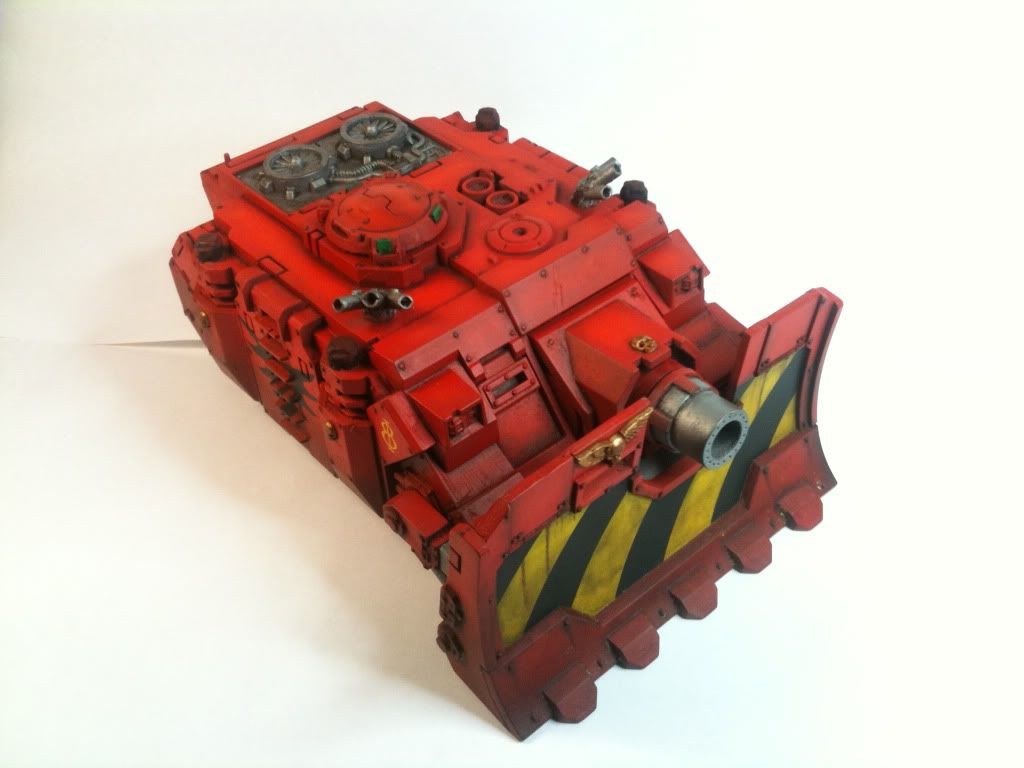
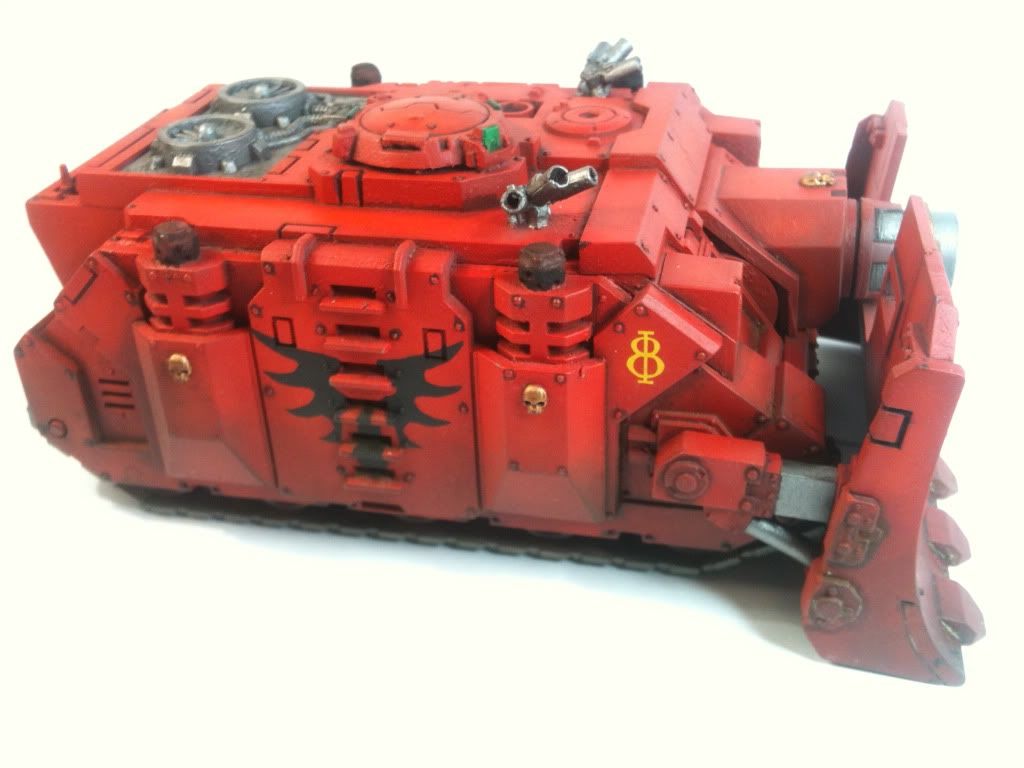
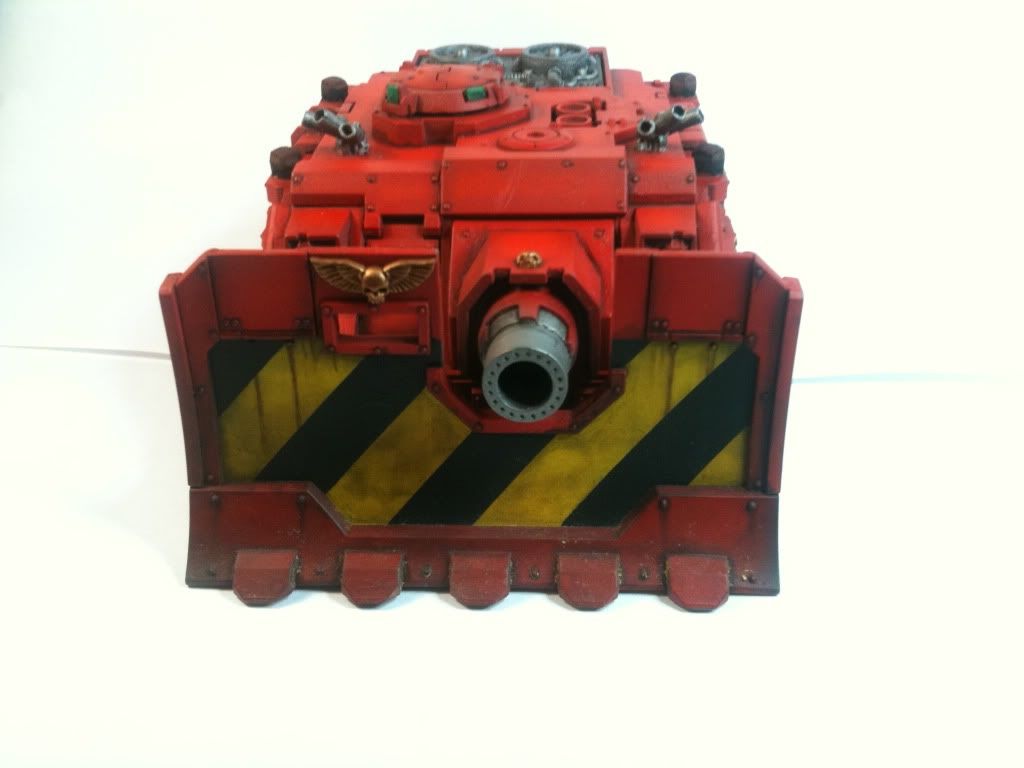
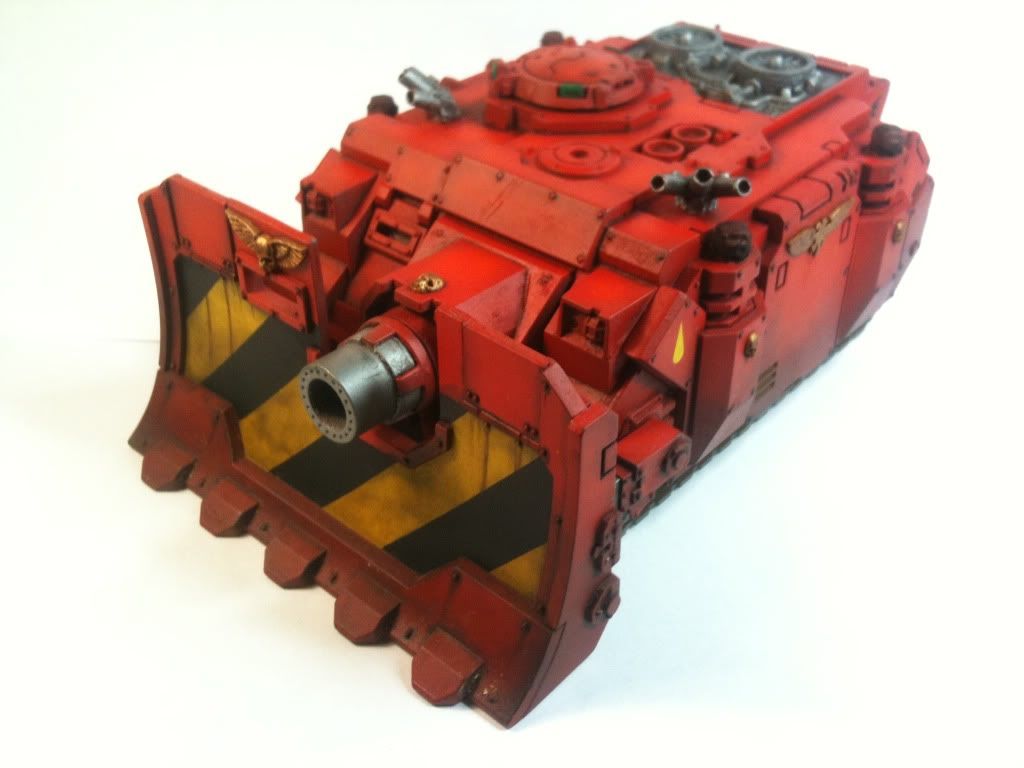
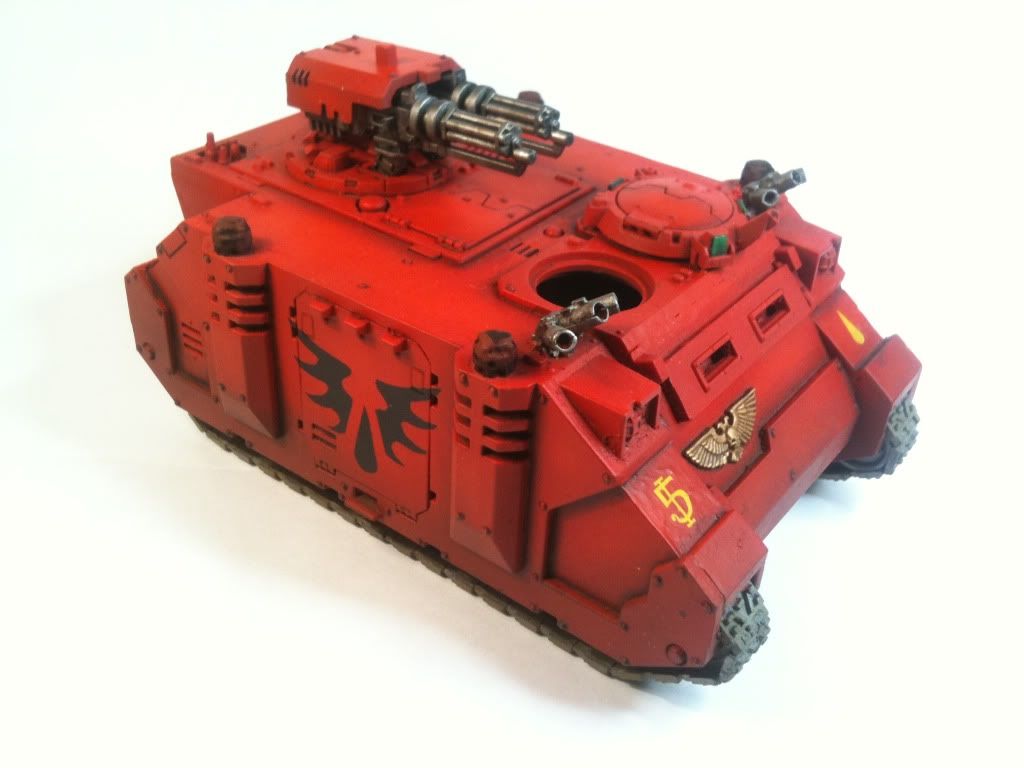
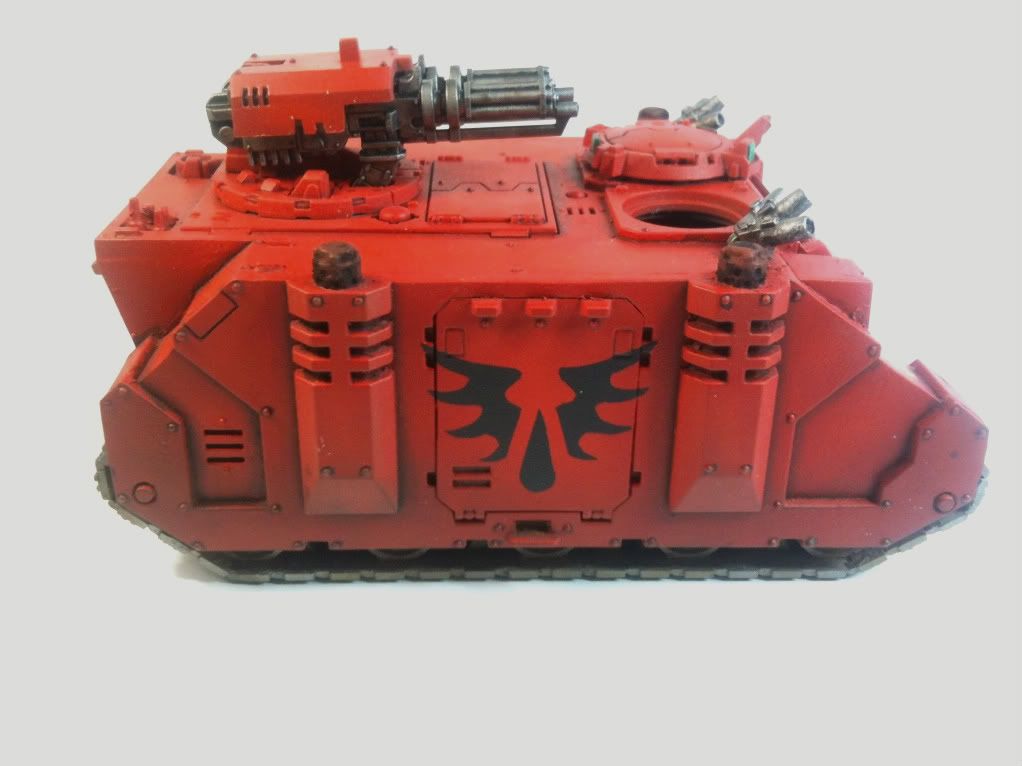
1st up is a vindicator. It was painted using the same technique described in my previous razorback post. Very happy with the way it has turned out. I think I will go back and add some more weathering to the tracks at some stage but for the moment it is ready to go.
In between prepping a couple of Land Raiders and Dreadnoughts for a commission I have managed to finish of a couple of Blood Angel vehicles that were sat on my bench.
1st up is a vindicator. It was painted using the same technique described in my previous razorback post. Very happy with the way it has turned out. I think I will go back and add some more weathering to the tracks at some stage but for the moment it is ready to go.
Overall I am extremely happy with the way it has come out and look forward to shooting foo's with it :)
2nd up is the razorback seen in previous posts. Just needed a few finishing touches to get it over the line and ready to game. The assault cannons will probably be redone with the airbrush at some point as well as again some more track weathering but again good to go on the tabletop.
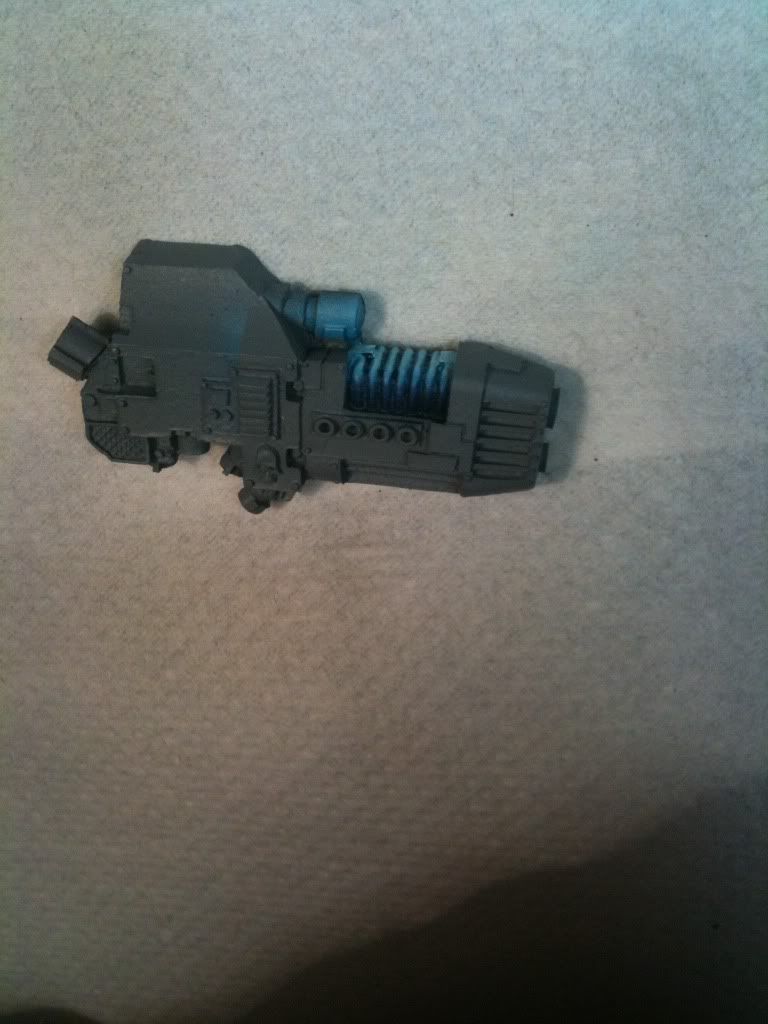
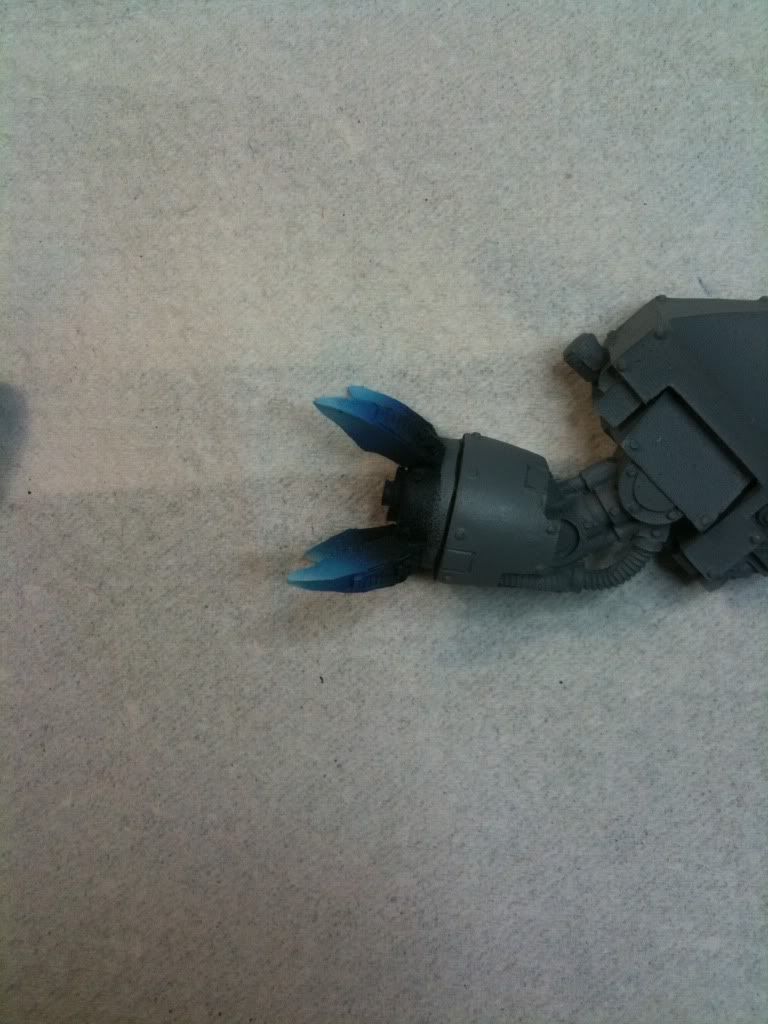
Last up is the beginning of work on a dreadnought Plasma cannon and close combat weapon as part of the commission I am working on. Only the very beginning but getting some of the blended airbrush work done so I can mask it off and work the rest of the areas.
Apologies for the photo quality of the last two snaps, they were taken with no setup at dark o'clock in the morning.
Friday, 23 September 2011
Blood Angels Razorback - 2nd tank painted with airbrush
After pretty much finishing my blood angels Rhino I am keen to keep up the momentum and strip and redo all my Blood Angels tanks using the airbrush. Next up is my TLAC Razorback.
The model has been stripped using fairy power spray. The result was pretty good.
Next up the hull was primed using Vallejo Air Grey Primer. This was sprayed at about 30psi in wide sweeping passes with the airbrush constantly moving so no paint could build up.
Next up the model was preshaded using Vallejo Game Colour Dark Fleshtone. This was thinned down quite a lot as my batch seems to be rather thick and gloopy and sprayed at a fairly low psi (about 15) so I could get in nice and close. I am thinning using the Vallejo Acrylic Thinner.
After this I gave the model several passes with VGC Bloody Red again at about 30psi.
Then I panel filled the large areas with a 50/50 VGC Bloody Red/Hot Orange mix thinned down at about 15 psi.
After that I made a few passes over the bottom half with a 50/50 VGC Dark Fleshtone/Bloody Red mix and then used that same mix to emphasis some of the shading around the chimney stacks and armour plates.
That's all for the moment. The wife is away on a hen do this weekend so expect a torrent of updates. Hoping to have this one finished, and my Vinidicator and a couple of Land Raiders for a friend in advanced stages by Sunday afternoon when my peace and quiet is shattered by her arrival back home :)
Wednesday, 21 September 2011
1st attempt with new airbrush - Blood Angels Rhino
OK so a few weeks ago I picked up an Iwata HP-C from FleaBay and a compressor from www.everythingairbrush.com (recommend them by the way, arrived next day and gave great advise over the phone).
This is my first attempt at using it to paint a model. I started out by taking an old bit of plasticard I had lying around and spending about an hour, hour and a half just mucking about with the airbrush, trying different pressures through the compressor, trying different consistencies and finally felt comfortable enough to have a bash and painting an old Rhino I had stripped to experiment on.
Here is the result
This is my first attempt at using it to paint a model. I started out by taking an old bit of plasticard I had lying around and spending about an hour, hour and a half just mucking about with the airbrush, trying different pressures through the compressor, trying different consistencies and finally felt comfortable enough to have a bash and painting an old Rhino I had stripped to experiment on.
Here is the result
For a first attempt I am really rather pleased about the way it came out. There are a few fingerprint marks on it so I need to learn to be more careful with my handling but otherwise I am rather chuffed. The finish is much smoother than I have been able to achieve with a brush, the gradient transition between shades is much smoother. Overall very happy. The Blood Angels logo was found on Google and then printed out, stuck with a glue stick onto Masking Tape and cut around to give me a template to work with. The hatch is having a few last bits and bobs done but otherwise she is finished.
Subscribe to:
Posts (Atom)